SSO Setup with OKTA
This page will guide you through the Single Sign On Setup of refocus using OKTA authentication. You will need to be an OKTA administrator to set this up.
Configure OKTA
If you are an experienced OKTA administrator you can skip to Refocus Specific Configuration
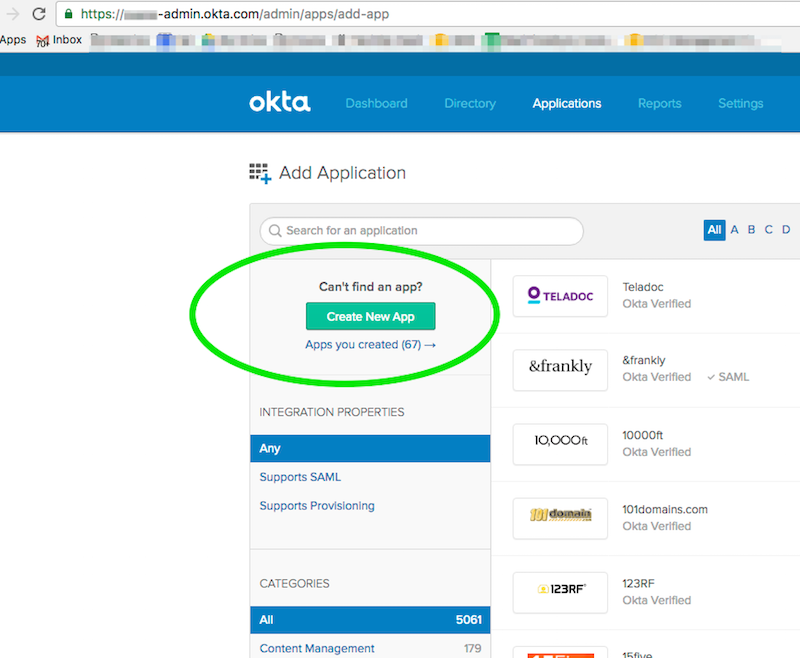
Create your new application in the Admin->Applications section of OKTA:
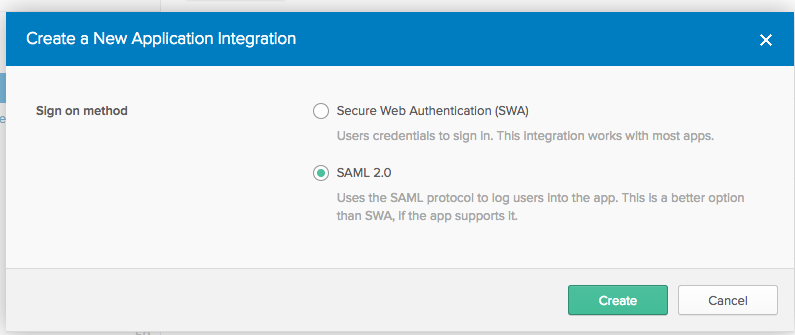
Set your sign on method to “SAML 2.0”:
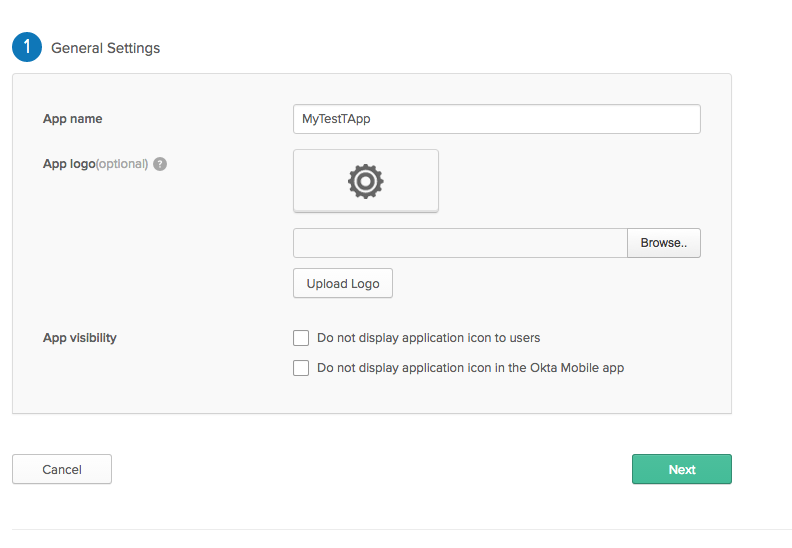
Add your application name, this is only used for display within OKTA so can be anything you wish. Upload a logo if you want as well, maximum size is (1400x900)
Refocus Specific Configuration
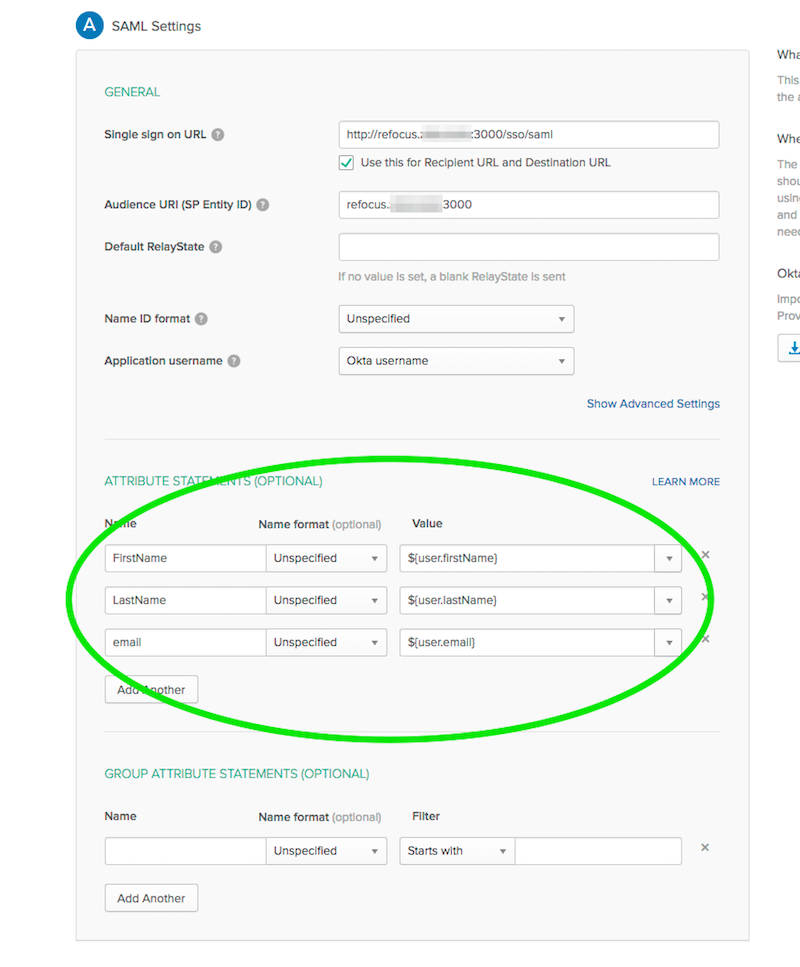
After clicking “Next” you should see the “Sign On Policy” page. These are the most important OKTA settings to get right.
For the “Single sign on URL” field, put your Fully Qualified Domain name for your application. The “Audience URL” is the same value as “Single sign on URL”, without the protocol preamble.
Make sure “Name ID Format” is “Unspecified” and “Application username” is “Okta username”
Pay close attention to the values in the “ATTRIBUTE STATEMENTS” section including the case of the values, as shown below these values need to be:
| Name | Name format | Value |
|---|---|---|
| FirstName | Unspecified | ${user.firstName} |
| LastName | Unspecified | ${user.lastName} |
| Unspecified | ${user.email} |
Configure refocus
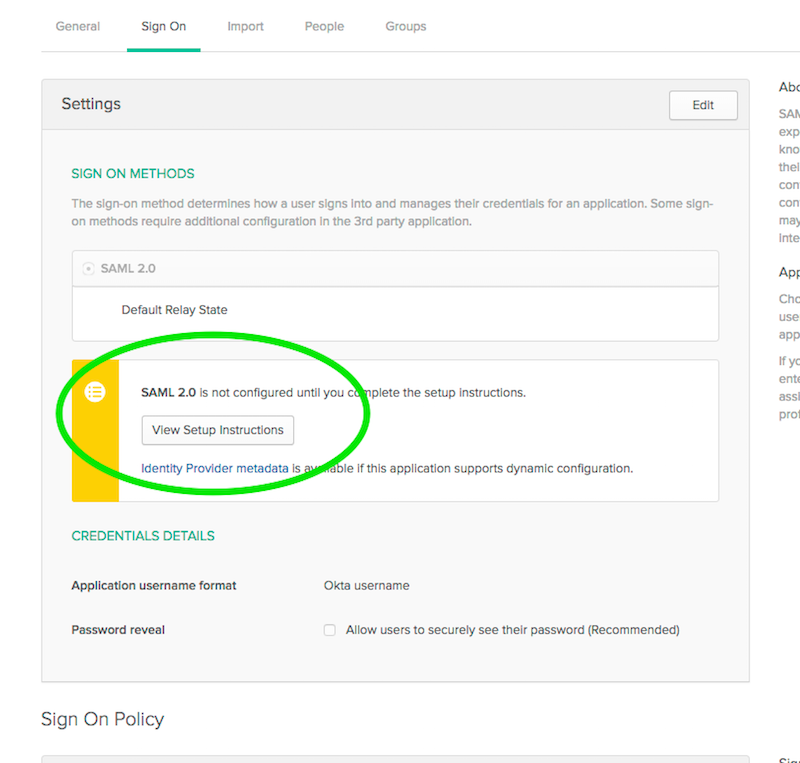
Still in OKTA click on “View Setup Instructions”:
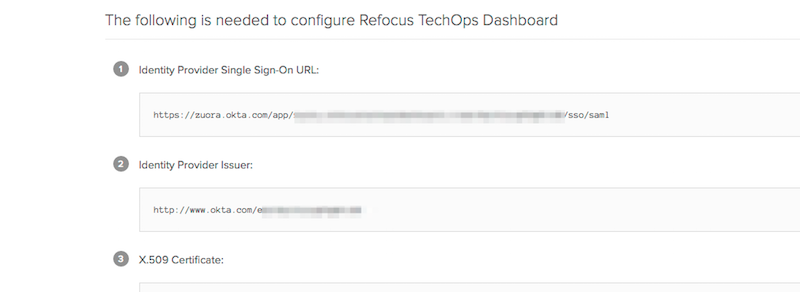
You will see these two links, which need to be added to refocus via a
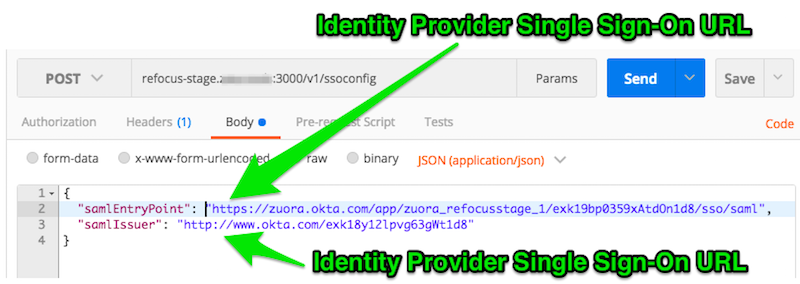
POST request to
To do the post, Postman is recommended, but any interactive API program is fine. Your postman POST will look like this:
Test your configuration
Once the “POST” is successful you are all set. Do a “GET” of the same URL just to me sure.
Now select “SSO Login” on the refocus screen.
You should be redirected to OKTA for authentication, and when successful, redirected back to refocus. If authentication is successful but you are not seeing a valid screen inside of refocus, check the above settings again, including the case of the variables.
If your signon is still not working, your next step is to look at the
samlAuthentication function in refocus/View/loadView.js